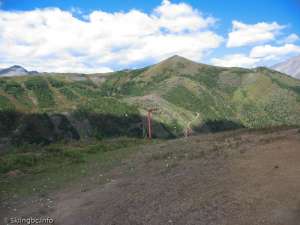
Curved T-bar North - North Turn - By: Russell P

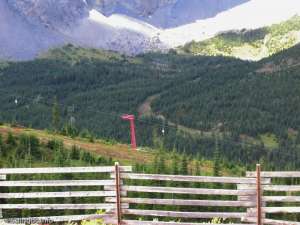
Curved T-bar North - Looking down the Up Line - By: Russell P
Curved T-bar North - Looking down the down line - By: Russell P

Curved T-bar North - Looking up at the down line - By: Russell P
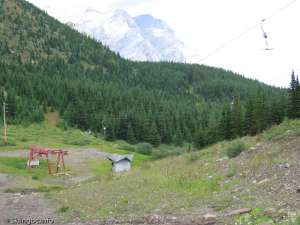
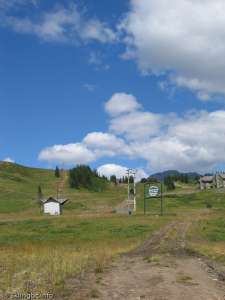
Curved T-bar North - Bottom Station on the North Side - By: Russell P
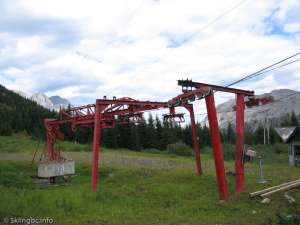
Curved T-bar North - Bottom Station - By: Russell P
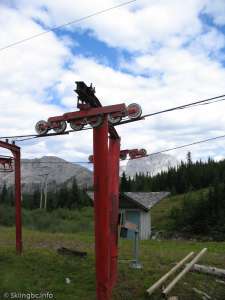
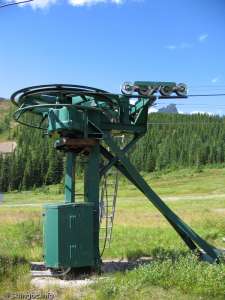
Curved T-bar North - Tower - By: Russell P
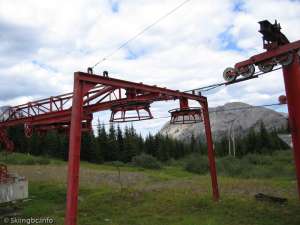
Curved T-bar North - Bottom Station - By: Russell P
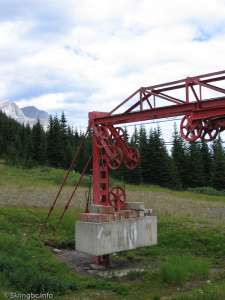
Curved T-bar North - Counterweight - By: Russell P
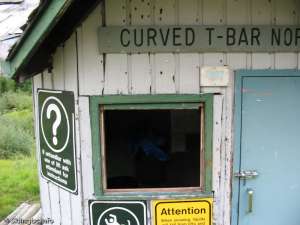
Curved T-bar North - Liftie Box - By: Russell P
Curved T-bar North - In the Liftie Box - By: Russell P
Curved T-bar South - Liftlines - By: Russell P

Curved T-bar South - Bottom Station - By: Russell P
Curved T-bar South - Bottom Station - By: Russell P
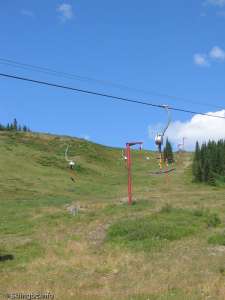
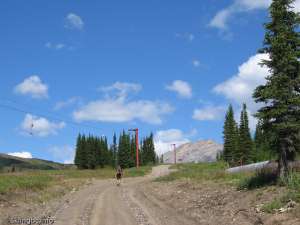
Curved T-bar South - Looking up the Up Line - By: Russell P
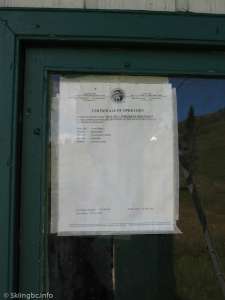
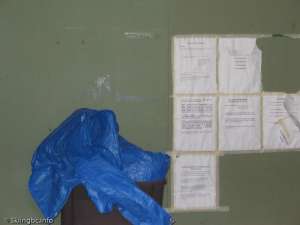
Curved T-bar South - Old Operating Certificate - By: Russell P

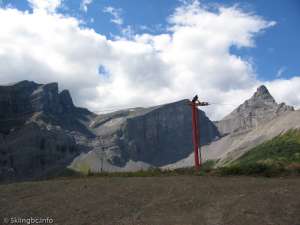
Curved T-bar South - Tower on the Down Line - By: Russell P
Curved T-bar South - Looking - By: Russell P
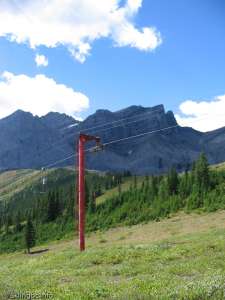
Curved T-bar South - Tower - By: Russell P
Curved T-bar South - Unloading Area - By: Russell P
Comments:
This lift goes up and over, with two load stations and one unload station.
| Operational Status: | T-Bar |
| Status: | Non-Operating/Removed |
| Capacity per Carrier: | 2 |
| Downloading Cap: | No |
| Carrier Cover: | No |